| Home > RX-7 > Tech/Mods > Tech Info > Engine Damage! |
| Home > RX-7 > Tech/Mods > Tech Info > Engine Damage! |
Anyone involved in any sort of engine work has probably seen some spectacular failures from time to time. Some of the stories of these failures are legendary, others are just mildly amusing. In any event, at the very least these examples are educational in the sense that they can show you what not to do so that such pain can be avoided in the future.
Some shops have a "Wall Of Pain" display to proudly display some of the better failures they have come across. This page is my online version.
This is perhaps the worst case scenario for a front thrust bearing failure possible. Actually, it might not be fair to call it a failure as such, since it was technically a builder's mistake. This engine was built by a local shop that really should know better for a friend of mine. It seems that during the build, the engine was turned on it's side (or even upside down?) before the front hub was torqued down (or installed?). The result was that the torrington bearing fell behind the spacer and was then crushed when the front hub was torqued down. The result of course is that the bearing was destroyed, the oiling system was filled with metal shavings and the engine consequently ate itself. In addition, there were other problems with this engine too numerous to mention including a pinched front cover o-ring that meant the engine would not have survived long under any circumstance.
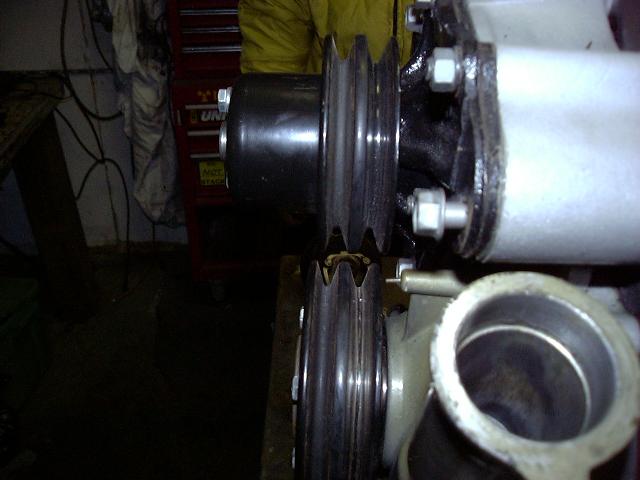
Now, the carnage. This first image clearly shows the front pulley misalignment due to the bearing mess before the engine is even disassembled. Because the spacer was being pushed out by the torrington bearing, the front hub is farther out then it should be.
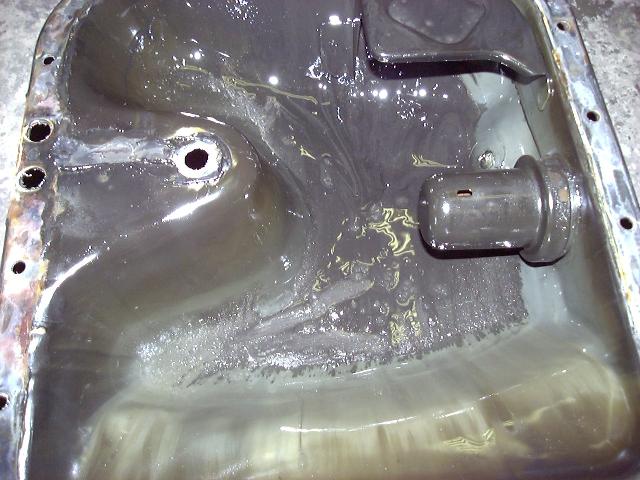
When we pulled the oil pan, we found entirely more metal shavings then we felt comfortable with. This would be a mixture of metal from all the bearings (main and rotor), stationary gears, oil pump eccentric shaft and front thrust plates. These parts are not supposed to be self-machining!
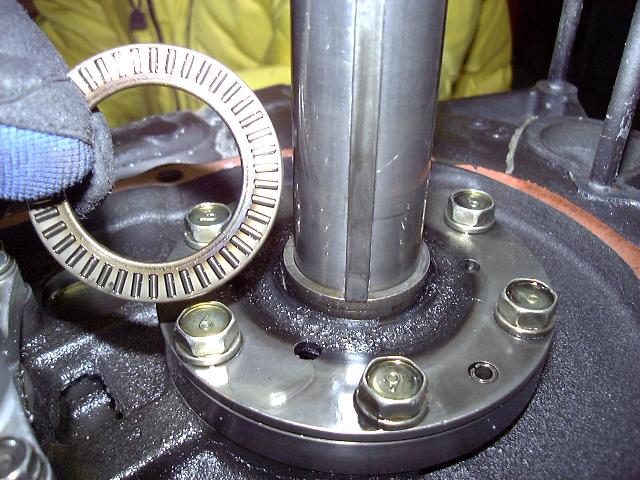
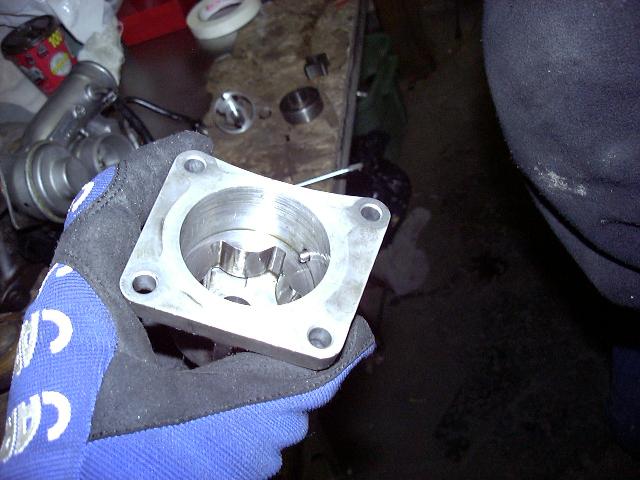
The outer torrington bearing was not too badly damaged, but the thrust plate below it tells a different story. Notice how the plate is burned to the point where it became soft enough to distort, crack and bubble. It's a hint of the damage below.
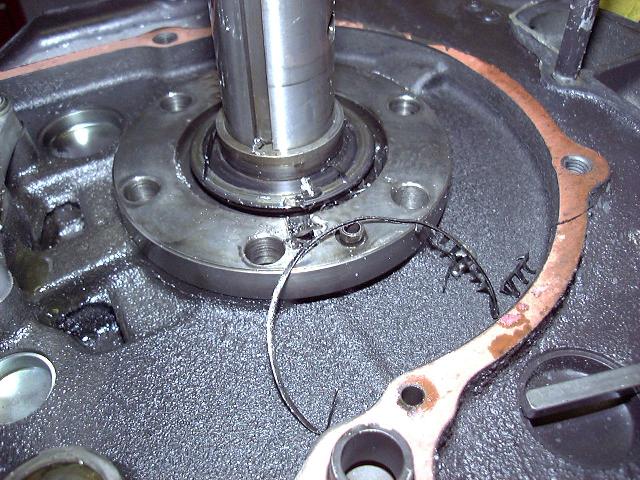
Once we removed the thrust plate we could find the remnants of the inner torrington bearing. The spacer had pushed the bearing into the eccentric thrust washer when the front hub was tightened down, resulting in extreme friction when the engine was first started. The heat and scraping chewed the bearing into scrap which then circulated through the rest of the oiling system. The heat damage to the thrust washer is evident and it took some effort to remove the spacer from the shaft.
The oil pump clearly shows how much debris went through this engine. It is unfortunate that the oil filter was not available for dissection. Obviously this pump is no longer usable. Among the other problems, the outer rotor was seized in place.
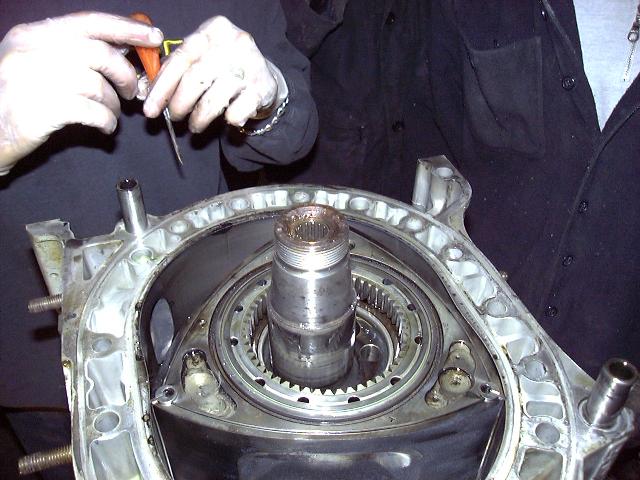
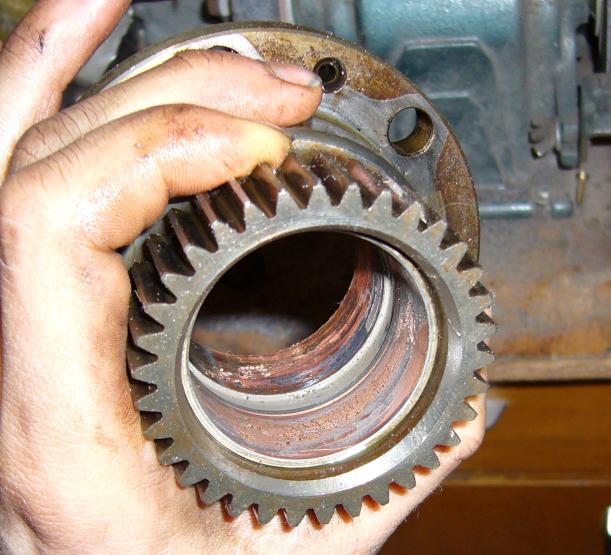
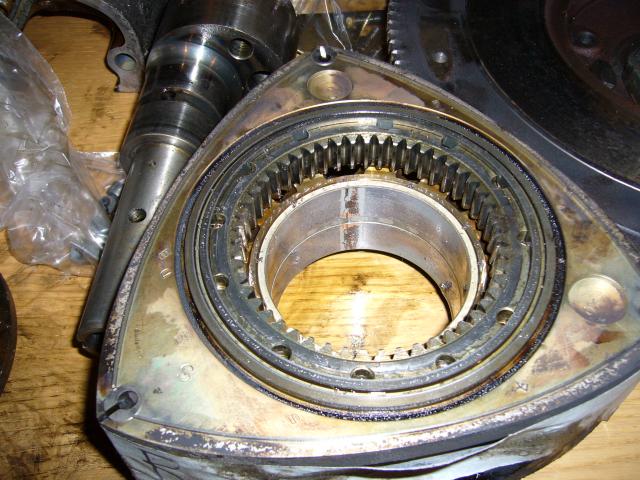
It took all three of us prying to remove the rear stationary gear. The rear bearing had spun, locking itself to the eccentric shaft and the inside of the stationary gear. After much cursing and a lot of elbow grease we finally managed to remove the gear by actually pulling it off it's bearing. The bearing was left locked to the eccentric shaft. Needless to say that in a normal engine disassembly this gear just slides right out.
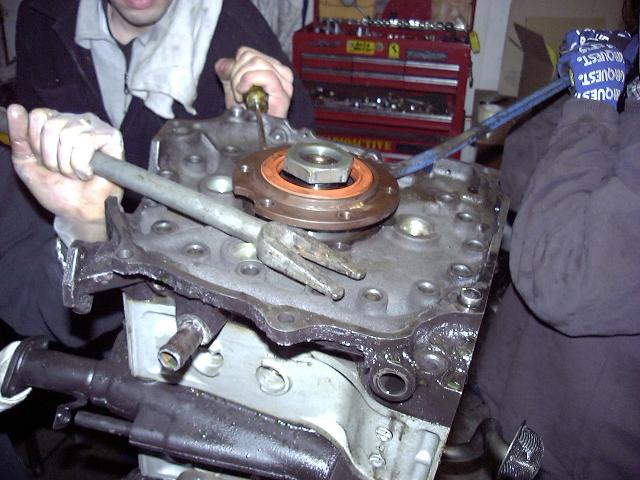
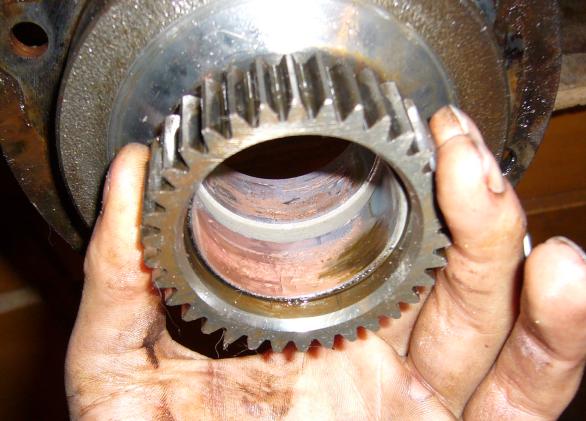
Here you see the rear main bearing locked onto the eccentric shaft...
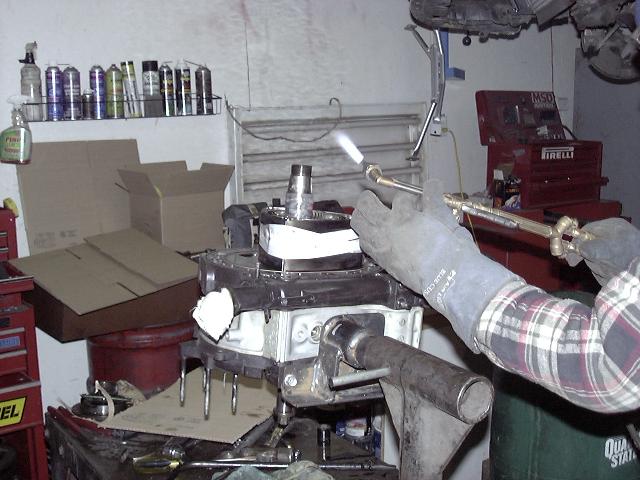
...and the method required to remove it. We had to heat the bearing with the acetylene torch to expand and soften it enough to crack it apart at the seam. After that it slid right off the shaft.
This is what's left of the bearing. The front main bearing was just as bad, and the rotor bearings were also not in very good shape. In fact, every bearing in this engine was ruined.
Finally, here's a good view of the eccentric shaft. Notice how every bearing surface is deeply scored and there is a large amount of metal shavings covering the rest of the shaft.
As I mentioned, every bearing in this engine was destroyed. So were the oil pump and drive gears, obviously the front spacer and bearing assembly, oil pressure regulator (jammed from debris), stationary gears (the teeth were damaged and the inner diameter of the gear ruined by the spun bearing), eccentric shaft, and rotor oil seals. The only salvageable parts were the rotors themselves, housings, irons and the oil pan, along with most of the hardware. The good parts were saved and a new engine was built after replacements for the damaged items were sourced. As it turns out, we had to also completely re-port the engine since the original builder had serious trouble following his own scribe lines. Most of the ports were half done, the exhaust barely bigger then stock and the work was just plain of poor quality.
Eventually, the ruined parts from this engine were turned into a lamp.
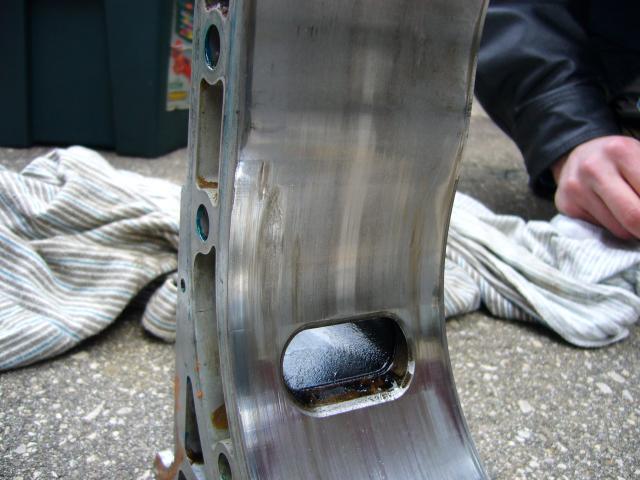
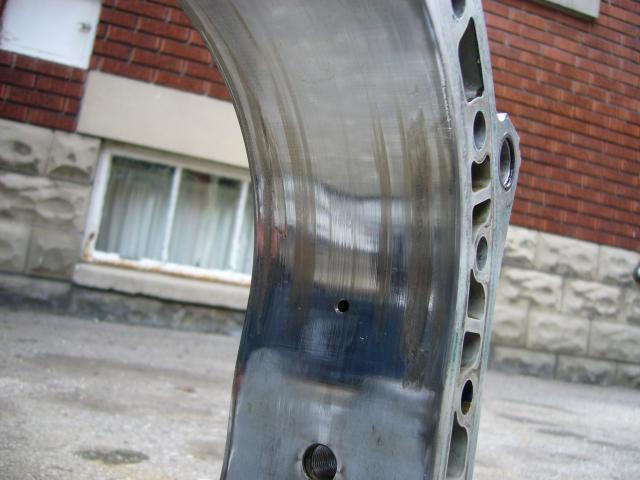
I'm just going to come out and admit it; this was my fault. I was porting the primaries on a TII engine and for some reason was increasing the size of the runner downwards. No idea why I was doing this since any gains by bringing the port down are negligible, but regardless I obviously went too far and broke straight through into the water jacket. At first it only seemed like a little pinprick of a hole but after some slight prodding with a knife blade gap widened significantly.
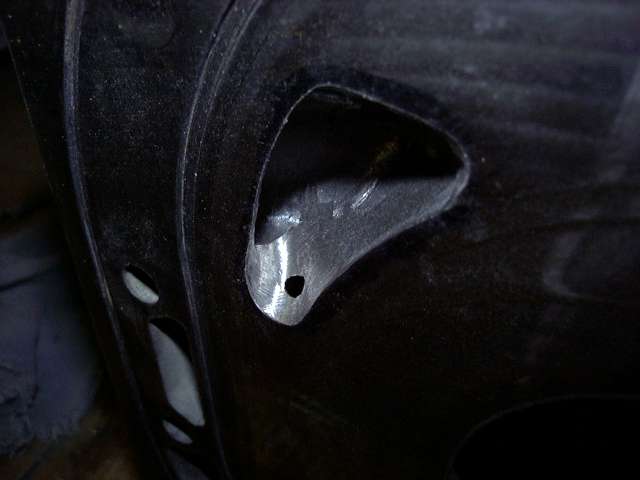
The ink cartridge of a pen proves that yes, this hole does go through to the other side. Obviously a new intermediate plate was purchased and this time ported a little less aggressively. In retrospect this iron probably could have been saved by just brazing up the hole but the owner of the engine didn't want to risk it (for good reason).

This next example is the classic apex seal failure. The engine belonged to a friend of mine who decided to spend a day at the track. Unfortunately, the j-spec engine poorly installed by the previous owner was not up to the task and on the drive home, it let go. Not to be beaten down, he continued to drive several thousand more kilometers while waiting for a replacement (much higher quality) j-spec to arrive. After the new engine was installed, he disassembled the old one to take a look at the damage.
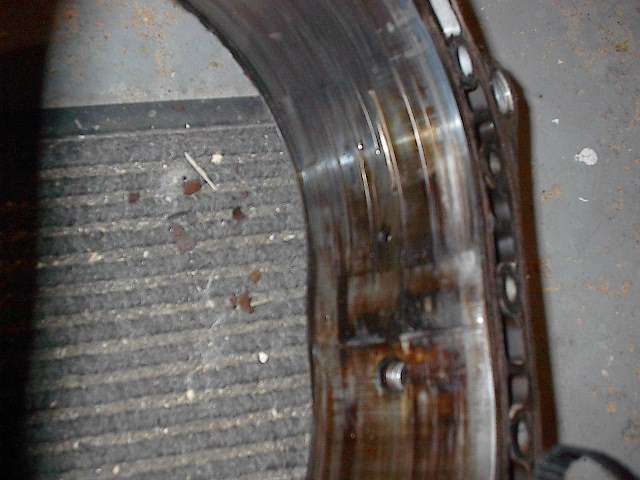
Notice the deep scaring on what's left of the chromed surface of the rotor housing. The general rule is that if you can catch your fingernail in a scratch, it's bad. Some of these would swallow the whole nail! Several of the scratches (well, most of them actually) are several millimeters deep. The deepest areas are around the exhaust port and outer edges of the housing. See that black/brown discolouration on the chrome? That's a sure sign of lack of lubrication. It seems that when this engine was installed, the metering oil system was not checked and the apex seals had been starved of oil. The goldish gunk in the cooling passages show that the cooling system was also seriously neglected.
Here's a close up of that exhaust port. Even with the poor focus, the gouges are easily visible.
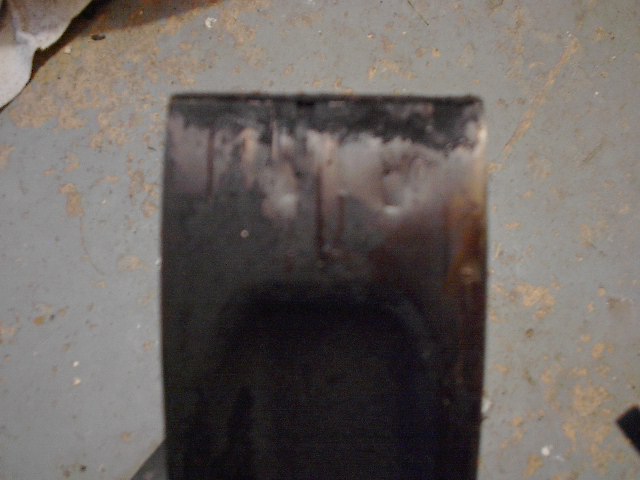
The damage extends to the spark plug area. Chunks of apex seal were squeezed between the rotor and housing to cause this deep carving. Again you can see the telltale signs of staining caused by overheated friction surfaces. What little oil that reached the area was baked onto the chrome.
From another angle the depth of the gouges is obvious. Can you believe that this engine still started easily and was drivable? Of course it took 20 seconds at full throttle to reach the speed limit...
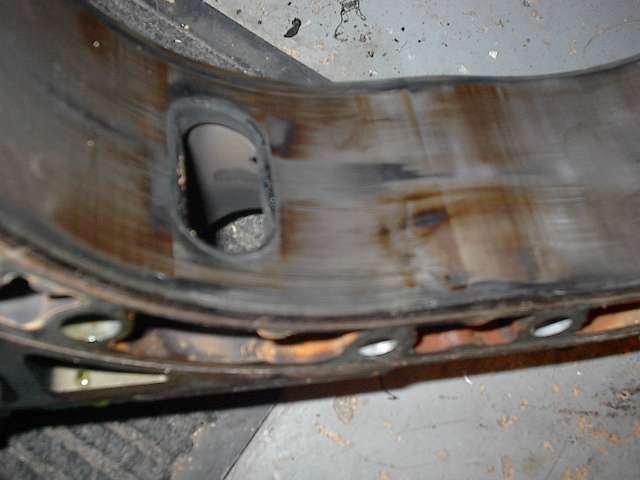
Here's a good view of the blown rotor. You can see a large chunk is missing from the apex, with the seal having been ejected from the exhaust port long ago. The dents are the result of bits of apex seal being compressed between the rotor and housing on the initial failure.
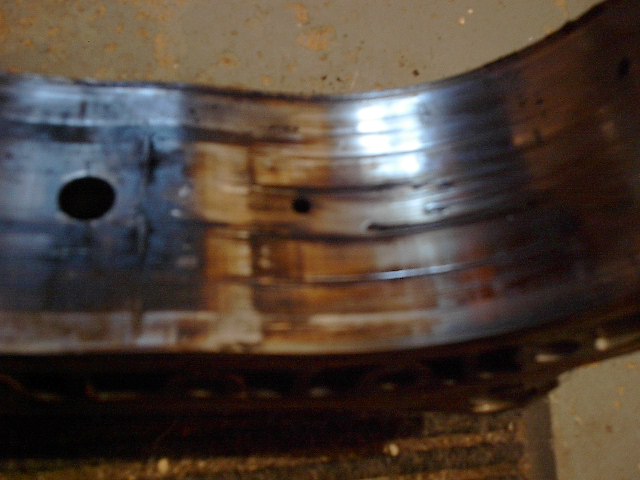
Can you believe this is the good housing? Those scratches at the exhaust port are coming along nicely, being about 1-2MM deep. Also notice the burning from lack of lubrication, and the scuff marks left by the apex seals as they dragged along the dry surface. The metering oil system on this side of the engine was in sad shape as well.
What's amazing is that a major engine builder purchased this housing knowing full well it's condition. One can only assume that it was with the intention of putting it into a customer's rebuild! I'm not going to name names here, but just consider that it is a well known and somewhat respected builder with a loyal following.
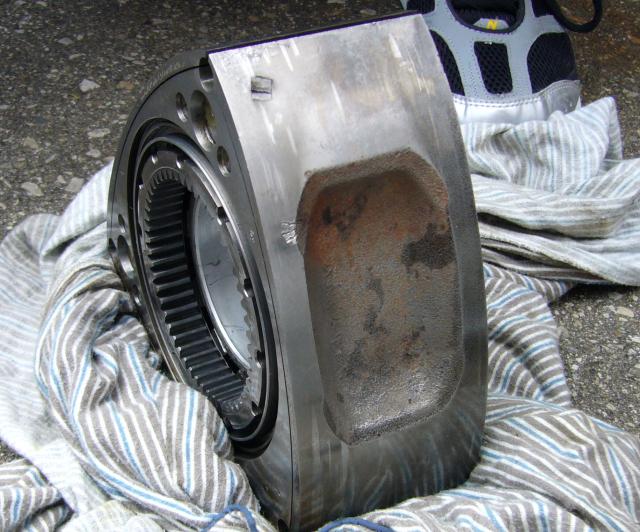
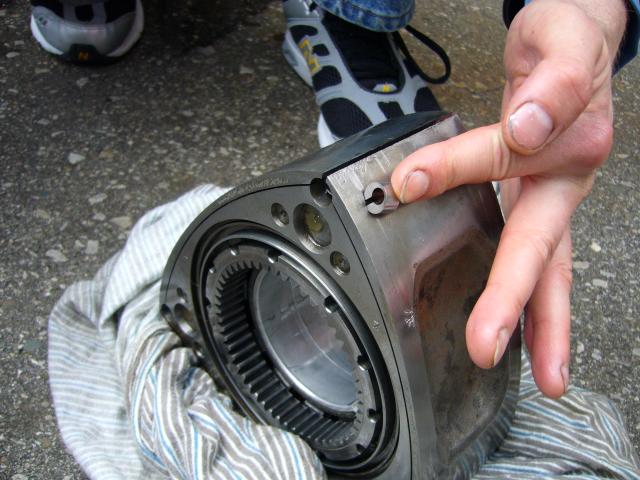
This whole mess started when the owner of the car was attempting to repair a leak at the oil pressure sender. As the sender was tightened, the mounting boss on the rear iron cracked at the threads. The first repair was to plug the hole and weld over it and it was relatively successful. But due to the thickness of the casting and the oil contamination of the area it was difficult to get a good weld and there was always a small seepage of oil. After several more welding attempts (the last one done by a professional welding shop) the rear iron looked something like this:
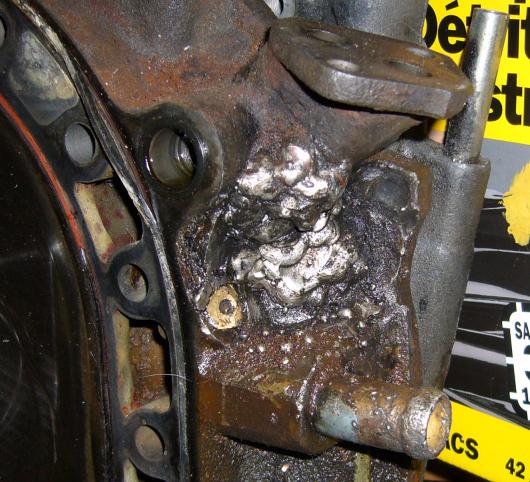
Due to the multiple repair efforts (each one requiring the previous weld to be ground out) the oil passage had shrunk to the point where it was severely restricting oil flow. This was not really discovered until the engine was disassembled to replace the rear iron. Once the engine was apart, we were surprised to find the damage to the bearings and eccentric shaft caused by oil starvation.
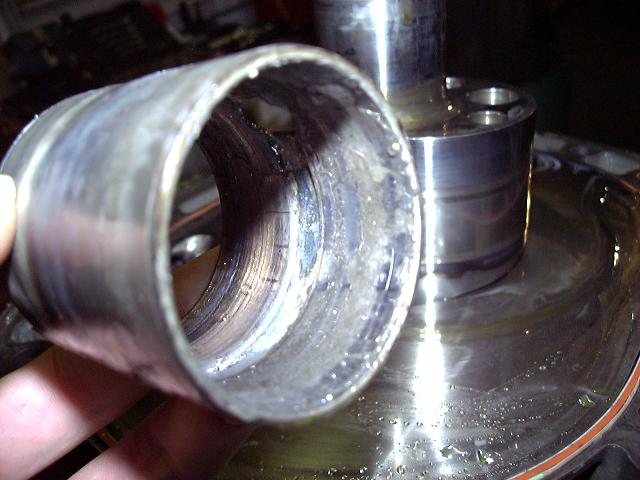
Below you can see the front bearing. Notice how the babbit has been torn away from the copper bearing in "scales" instead of the smooth wear that normally exposes copper. Some of this babbit and copper was stuck to the eccentric shaft.
The rear bearing looked about the same:
The rotors did not look too bad compared to the stationary bearings but the rotor bearings were starting to show accelerated wear and damage to the babbit. A few more miles or some high RPM operation and the rotor bearings would have looked just as bad as the others (or the engine would have locked!).
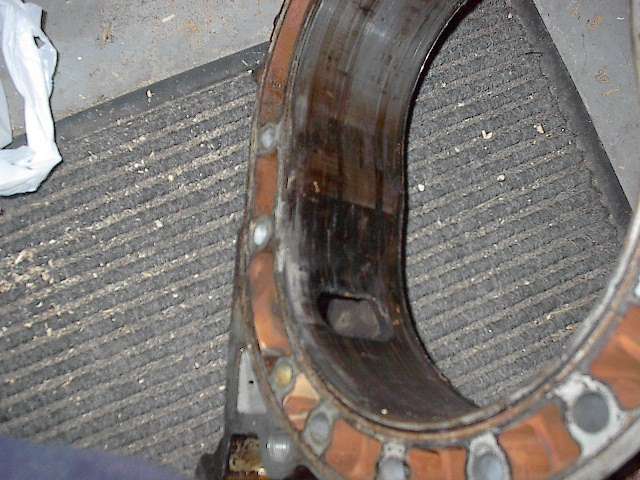
This is the result of some late night engine building, a lapse in concentration when installing a rotor and an inferior brand of petroleum jelly used to hold seals in place. It is assumed that during rotor installation the corner seal was allowed to pass over the intake port and slide out of the rotor. The crappy "Life" brand petroleum jelly did not have much of a grip on the seal and it slid into the intake port. This was not noticed until the engine was rotated reinstalled in the car and started. Sadly it was too late at that point because the damage had been done:
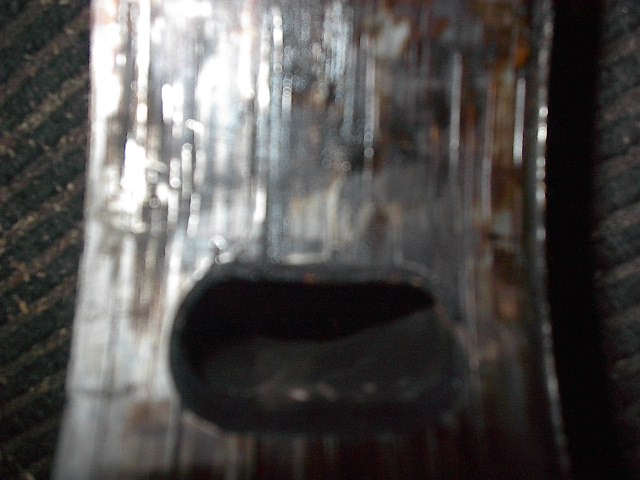
A corner seal fits in there disturbingly well...
This seal seems to have rattled around inside the chamber on all three faces of the rotor and each apex seal groove was squashed well past tolerances. Of course, the seal was pressed against the inside of the housing by the rotor, so the housing was also trashed.
When the car was initially started it was a mystery why one rotor was making virtually no compression. After going through the standard checks and eliminating some vacuum leaks a compression test revealed very little compression on the front rotor. The engine was disassembled again (with less then 50KM of runtime) and the above is what was found. A new rotor and housing was sourced, the engine re-rebuilt and once again reinstalled into the car. This time it started first try on both rotors.
Still in the mood for destruction on a massive scale? Well one can hope (rather, perhaps not hope?) that I'll soon have more examples. But in the mean time, check out these other sites:
Back To Tech Page | Mail Me | Search | ![]()